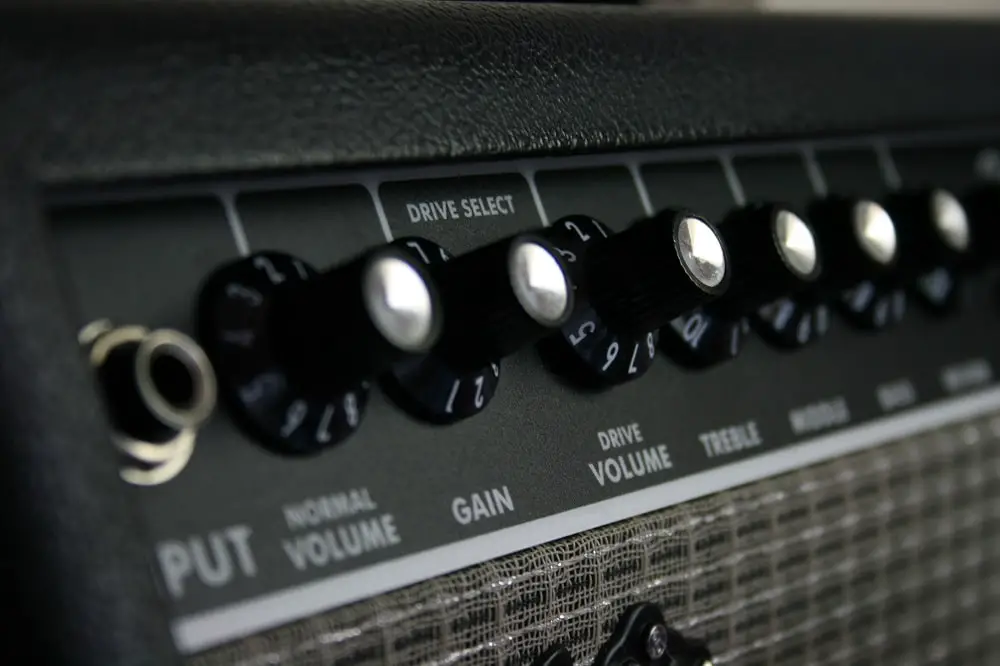
There it goes, the spotlight’s on you – playing a mad solo, smoke coming out of the fretboard, your fingers a flurry of fast winds, and the amp howls wildly, screaming out a high note, a loud POP … the amp goes quiet.
You know what that is. The speaker is blown.
How To Fix A Blown Amp
Good news! Some tape and light glue will fix a torn speaker cone right away. You just need to take off the protective mesh, take the speaker out, patch it up and replace it again. It could be a much harder problem to solve, though – and unexpectedly dangerous!
Ready to give up by now?
Well, if you don’t have any experience fiddling with wires, find someone to do it for you.
Ask around – maybe someone in your band is or knows a handyman?
Contact the store you bought it from – it might still be under warranty.
Or just type in “speaker repair cost ” and see what pops up in the search bar. It doesn’t have to be complicated!
If you indeed have a stout heart, and steady hands, you could go ahead at your own risk.
What skills do I need?
- you can use basic tools
- elementary electronics knowledge
- elementary soldering
If you’re not sure what you’re doing, or the project’s a multi-speaker cabinet with complicated wiring schemes, you’re probably best leaving it to a pro.
So, first things first –

The Basics
If you already know a bit about speakers, you can skip to point 2.
How does a speaker work, actually? Every dynamic speaker is built out of a voice coil (a wire, coiled around a magnet) and a diaphragm (the speaker cone, attached to the coil) that moves back and forward, compressing the air and creating sound waves. Basically, it functions the same way as a dynamic microphone, but in reverse.
Getting confused with the terms? Quick tip – “speaker driver” and “driver unit” means the same: the individual loudspeaker, housed within a speaker cabinet.
How does a speaker get blown?
Most amp speakers are really sturdy, and it’s hard to break them through everyday use. However, crank an amp up loud for too long, and the voice coil will overheat (unable to keep itself cool with the large inrush of electrical current).
1. Unplug the amp
Some people skip this step and significantly decrease their lifespans.
Safety first! Even after you unplug the amp, some parts of it retain a lethal charge. Whatever you do, don’t touch the internal wiring!
2. Diagnose the problem
How can you tell for sure, though?
Most of the time the speaker will go silent, or tear visibly. Sometimes it’s harder to spot, though. Depending on the type of damage, you might have to buy a new speaker unit. Other symptoms are:
- Distortion – fuzz or hiss. This means the voice coil is loose or damaged. The glue on the coil could fail, while the windings are still conducting.
- No vibration – the cone isn’t getting any signal. That’s a wiring issue: the voice coil isn’t connected, or some other electronic component went rogue along the way!
- Rattling – popping and rattling coming from the speakers.
3. Pinpoint the drive that’s causing the problem
Test the speakers to see which driver is damaged.
If you’re using a computer, running on Windows, just test the speakers through Volume Control Options down to the right on the Task bar. You could also use a diagnostic CD or flash drive.
The simplest way to go is just play some loud music. See which drivers don’t respond at all, or completely lack in the low-end.
Great! Now that you’ve located the faulty drive, you can:
4. Remove the screws, holding the protective grill over the speaker
A screwdriver definitely helps here.
5. Give the speaker a very, very light push
The speaker cone should be moving smoothly and silently. If you hear a scratching sound, it’s probably an issue with the voice coil.
6. Examine further the speaker cones and voice coils
Take them out of the speaker box and examine them gently.
If the voice coil is damaged or deformed, you’ll have to replace the speaker: take this one out and remember to write down its specs. That is resistance, power handling data, and serial number.
7. Taping up, or replacing
If there’s a tear in the speaker cone, you can just fix it with tape or glue. You need to use scotch tape, or rubber adhesive, and apply it along the tear with a small brush.
If you’re putting in a new speaker, solder it to the speaker box wires. Reattach the protective grill and benefit!
All in all, repairing a blown amp can be a tough, dangerous job. You need to be armed with at least elementary knowledge of electronics – and a degree of care. Not entirely sure what’s happening? Best grab a buddy who knows about electronics to help you out, or dig out the warranty from the bottom drawer!
Sources
https://www.musicradar.com/how-to/the-tone-doctor-how-to-replace-amp-speakers
https://www.fender.com/articles/tech-talk/breaking-down-blown-speakers
https://www.premierguitar.com/articles/17120-diy-how-to-replace-your-amp-speakersthe-right-way
https://ourpastimes.com/how-to-fix-a-blown-guitar-amplifier-speaker-12111403.html
https://www.proaudioland.com/news/tell-bad-blown-guitar-speaker/